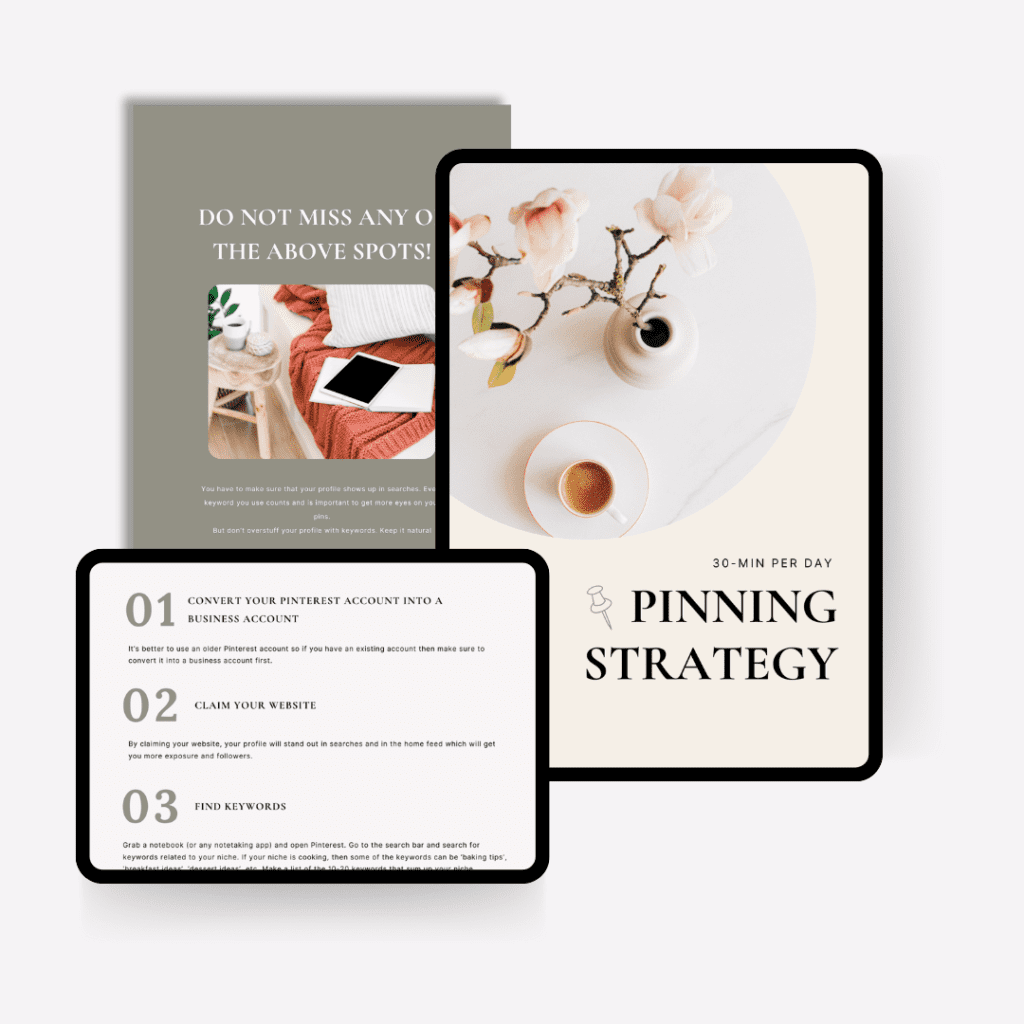
Hello new bloggers!
I know. You’re probably in a slump of not getting much traffic from Pinterest even after creating beautiful pins, writing catchy headlines, etc. etc.
Happened to me a lot when I was a complete Pinterest newbie. I mean, I understand you because there’s so much to learn about the platform.

You see, Pinterest is a search engine which means we have to figure out how the ranking algorithm works and what you can do to maximise your reach.
On top of that, you have to make sure that you’re maintaining consistency and avoid getting caught in the Pinterest spam filter (ouch!).
Here’s the catch: the difficult thing is not to maintain consistency, write good pin titles and descriptions or optimize your profile.
The difficult thing is to figure out your pinning strategy! Some of these strategies are so minor that you won’t even notice that you can implement them to gain more exposure!!!
And that is exactly what we’ll be covering in this post!
This post is not about:
- Writing good pin titles
- Optimizing your profile
- Designing beautiful pins
It’s about some simple strategies and hacks you can implement to get more eyes on your pins.
Ready? Then let’s start!
Some links in this post are affiliate links. If you purchase through these links, I earn a commission at no extra cost to you. I only recommend products, tools and services that I trust. For more information, read the full disclosure here.

HACK 1# MORE FRESH PINS THAN REPINS
If you’re repinning 50-60 pins and pinning 5-6 fresh pins daily then it’s time to stop.
There are two solid reasons to do so:
#1 The Pinterest algorithm loves it when you pin more fresh pins than repins. If you do so, it boosts your rankings, which will give you more blog traffic.
#2 You may get caught in the Pinterest spam filter if you repin too much.
Those days are long gone when Pinterest was all about 80% repinning and 20% fresh pinning.
When people are new to Pinterest marketing, they think that all they need to do is repin some content and your analytics graph will start going uphill.
DON’T DO THAT! That will do no good!
You may end up getting caught in the spam filter and it’s pretty much impossible to get out of that, especially if your account is brand new.
I’m not saying that you shouldn’t repin at all. You absolutely should repin from time to time to interact with the platform. Just make sure to not overdo it.
This is one of those minor mistakes that you can’t figure out you’re making and can take out a huge chunk of your blog traffic, impressions and exposure.
You must post at least 5-6 fresh pins daily to make the Pinterest algorithm work in your favor.
Key Takeaway:
Make sure that you post more fresh pins than repins. Posting 5-6 fresh pins daily is a great way to maintain consistency.
HACK 2# STOP USING HASHTAGS
Let me tell you an incident.
When I was very new to Pinterest marketing, I was exploring and analyzing different types of pins.
I came across a pin and in the description, the publisher of that pin included some relevant hashtags so I thought, Oh! So this is how you’re supposed to do it.
From the very next day, I also started using hashtags in my Pin descriptions without any prior research and this continued for 6 months!
For the next 6 months, I continued using hashtags in my pins and also noticed that I was not seeing much improvement even after posting consistently.
I took a free Pinterest guide and came to know that you’re not supposed to use hashtags in your pins now. It’s an old tactic!
You see, Pinterest is a search engine and the usage of hashtags makes more sense in social media posts.
Your pins will do really well even if you don’t use hashtags. All you need to do is include keywords in your Pin title, description and boards.
I discontinued using hashtags and most of my pins are now ranking very high on the Pinterest search engine!
Key Takeaway:
Stop using hashtags in your pins. You only have to use the right keywords in your pin title, description and boards.
HACK 3# PIN WITH DIFFERENT URLs
The Pinterest spam filter is a scary thing. Trust me!
If you have a new account then it’s even more easy to get caught in it because your account is in a fragile stage.
Before launching your blog, you must write 5 blog posts in advance, ready to publish with the blog launch.
Even if you don’t have 5 pre-written blog posts, I suggest you write the blog posts first and then start pinning on Pinterest.
That way, you have 5 different URLs for your 5 different pins. Next step: create 5 different pin designs of the same blog post and post them on different days.

DO NOT PIN ON THE SAME URL ON THE SAME DAY!
A gap of 24 hours is a must for pins with the same URL.
This way you’ll maintain consistency without getting caught in the spam filter.
Key Takeaway:
Create 5-6 different designs of the same blog post. Post them on different days and avoid pinning on the same URL on the same day.
HACK 4# USE YOUR BOARDS IN THE *CORRECT* WAY
But what’s the *correct* way?
Allow me to explain!
Your Pinterest boards mainly need these 3 things:
- Board name
- Board description
- Content (pins)
For the board name, make sure you’re using the right keywords. For example, if you’re a fashion blogger, your board names should look something like these:
-> Winter Outfits Women
-> Fall Hairstyles
-> Summer Haircuts
Don’t make the board names too long. Keep the word count between 1 and 4 and keep it straightforward.
You absolutely do not need to make a separate board for every blog post you write. What you should do is this:
➤ Create a pin of a blog post topic and save it to 5 different boards. Don’t keep pinning the same type of pin to the same board. Make sure the 5 different boards are relevant to the pin topic.
Why? Pinning to different boards will give your pins more exposure and you’ll gain more monthly impressions.
This is a hack that I learned very recently and started implementing for my Pinterest strategy. Works like a charm and my monthly impressions have skyrocketed!
Tip: Do not let your boards go stale. Keep saving pins to them from time to time.
As for board descriptions, make sure not to do keyword stuffing and write the description naturally. Something like this:

Key Takeaway:
Create 5-6 relevant boards and save your pins of the same blog topic to different boards. It will give your pins more exposure and reach.
HACK 5# TEST DIFFERENT PIN DESIGNS
It’s good to stick to your branding but I would suggest experimenting with different pin designs and styles.
You can switch between pin sizes, styles, color combinations, font combinations, and static and dynamic pins.
As for Pinterest, your main focus is to attract the audience to your blog and to do that, you must do some tests and trials.
You never know which kind of pin will perform well. Maybe the type of pins you’re posting now won’t work well.
You also don’t want your pins to look too identical. You have to create different pins for a single blog post and if you keep the designs too similar, it will look too repetitive.
Here, take a look at this ↓

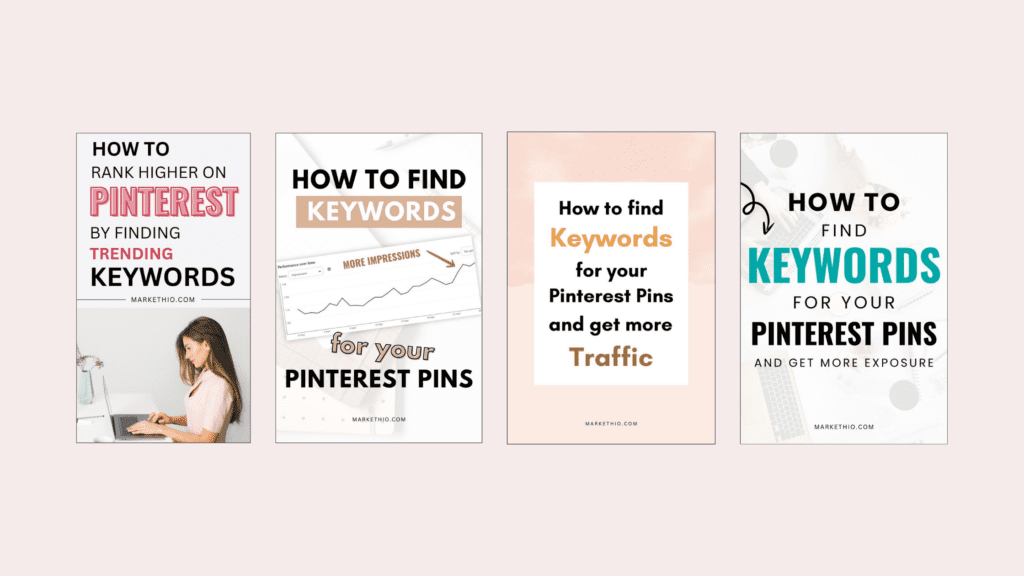
I created different pin designs for a single blog post. I made small tweaks in the pin titles and changed colors, fonts, and sizes. That’s all!
Testing out different pin designs is probably the best change you can make for your pinning strategy.
Key Takeaway:
Create different pin designs by changing color combinations, font combinations and pin sizes etc.
> Related: How to design your Pinterest Pins to attract more readers to your blog
HACK 6# MIX OF MANUAL PINNING AND SCHEDULING PINS
Before we go any further, let me clear up the meanings of manual pinning and scheduling your pins.
Manual pinning also called live pinning means directly publishing the pins on your Pinterest profile in real time.
Scheduling your pins, as the name says, means scheduling your pins using a pin scheduling tool.
Both pinning techniques have their own pros and cons.
You cannot always be available to pin manually so a scheduler comes really handy to schedule your pins for later dates and times.
But Pinterest also wants you to interact with the platform more often to upload, repin and like pins.
So, in this case, what you can do is a mix of both.
It’s what I do too.
If you handle one account then try to pin manually sometimes to keep interacting with the platform.
And no. Using a scheduler doesn’t harm your reach in any way. Pinterest has its official scheduler too, TailWind.
For me, I do 10% manual pinning and 90% scheduling. You can do this too!
Manual pinning and scheduling, both methods gave me thousands of impressions on my pins. You never know which method will work for you.
So, keep doing both!
Key Takeaway:
Do a mix of both manual pinning and scheduling your pins. This way you can keep interacting with the platform without spending too much time on it.
SUMMING IT UP
And that’s all!
I hope you found this little post useful to boost your Pinterest strategy. Let’s sum up all the hacks one more time!
- Post more fresh pins than repins
- Stop using hashtags in Pin title and description
- Don’t pin on the same URL on the same day
- Use your boards with a strategy to get maximum exposure
- Experiment with different pin designs
- Pin with both methods: manually and scheduling
More related posts:
➤ How to optimize your Pinterest profile
➤ How to design Pinterest Pins to attract more readers
➤ How to find keywords for your Pinterest Pins
➤ 50 Best Canva fonts for your Pinterest pins
Bookmark this post for later!


